Happy feast of St. Florian!
This is my second post about peg dolls. To see other posts, click here.
I love doing these swaps for a few reasons. I absolutely LOVE the saints. Besides Theology of the Body, saints are what I can gush over the most. I love love love them. This is a great way to introduce my kids to their family in Heaven and get excited about things like self-sacrifice, joy, heroic virtue, and martyrdom. YES martyrdom. I also love meeting other Catholics who are crazy about the saints and want to make them accessible to their kids, too. It's just great to experience the wider church when we all meet up for the swap. So great. I love being Catholic!
The general timeline I have is anywhere between 4-6 months to do a set of 10 (unless the group decides otherwise). In this post, I'll illustrate the process I used for my 3rd saint peg doll, St. Benedict of Nursia. I chose him for a few reasons. He's my son's middle name patron. Also, the theme I chose for our Saint Swap was shamelessly borrowed from Catholic All Year's amazing post about Saints who were BFFs in real life. Since then, my brain has exPLODED with tons of different themes for future swaps, and I hope to organize more! Anyways, on to the process!
Purchase pegs
 |
| The majority of swaps use 3.5" female pegs and 3 9/16" male pegs. There are several great places to get peg dolls. I've found craftparts.com to have the best bulk prices. Super handy if you are doing a larger swap and have plenty of people who want to throw in. |
Saran-wrap work surface
 |
| I use this instead of paper. It doesn't stick to the peg dolls very much if the paint is still wet. Sand rough spots |
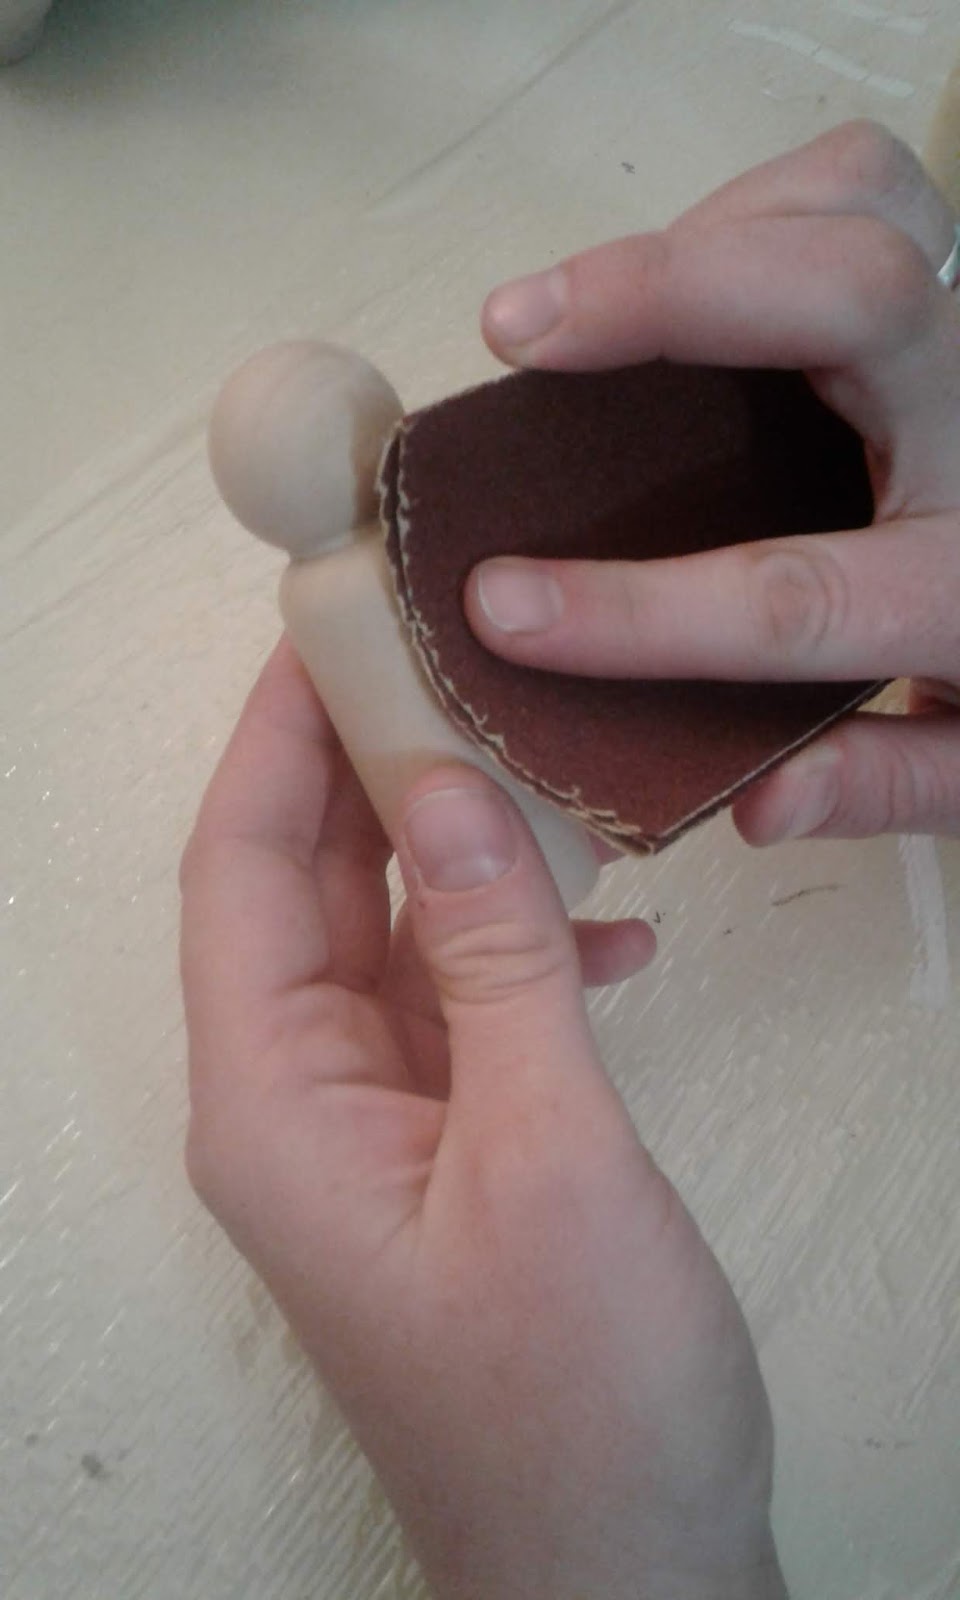 |
| Most pegs are pretty smooth, but I tend to watch out for rough spots, as they can make the details difficult to paint. |
Pray for inspiration
 |
| Ora et Labora: pray and work. I go to the saint I'm working on. We don't choose the saints; they choose us! I try to find as many varied representations of my saint as I can, and start forming ideas. I also take a look at other peg doll artists out there, as well as various websites. But more on that in the next post. |
Sketch ideas


 |
| It really helps me to sketch everything out before hand. I usually don't settle on one thing right away. This part of the process gets the creativity flowing, and allows me to look at different details before I start painting them. It also tells me that if I have difficulty hand drawing certain details, I'll totally suck at painting them on. This helps me settle on things that are within my talent range. My internal motto during this stage hearkens back to a quotation I found in high school by Thoreau: "Simplify, Simplify, Simplify," and is complemented by another from St. Thérèse: "Our Lord needs from us neither great deeds nor profound thoughts. Neither intelligence nor talents. He cherishes simplicity." I feel like simplicity opens the doors for consistency in my pegs. |
Paint white basecoat under light colors


The wood will suck up the paint. It's inevitable. I avoid streaks and uneven coverage with light colors by painting a white basecoat. I don't do more than two. Dark colors do not need a basecoat, but I still do two layers.
Plan out color process
 |
| Planning out the colors can be a pain, but I try to do it ahead of time as part of my sketches so I can stay on track. I usually begin at the head of the peg and work my way down. Or, I cover the lightest major area first, and move on to the darkest. |
Sketch on details one at a time


One thing I learned with my first peg doll exchange was to sketch, sketch, sketch. I sketch ideas in a notebook, and sketch them onto my peg doll in light pencil. This really helps me to avoid making mistakes, and it allows me to be consistent with the details. If I don't like something, it's early enough in the process to change it. Tip: Use a pink eraser to get rid of any mistakes in your sketches (think dixon ticonderoga pencil). It works better on the paint.
Paint details one at a time


 |
| This is probably the most tedious part, and it takes a bit of brain work for me because I'm starting to layer things. Again, the original sketchbook comes in handy, but I have to start visualizing how everything will play out with paint. It's important to focus on one detail at a time so I can get the look just right and be consistent. |
Make a facebook poll about facial features


 |
| I can NEVER make up my mind about facial features. What kind of eyes? Mouth? Smile? Nose? UGH! I usually have a few in mind, and I sketch them on the doll. Then I take a facebook poll. Sometimes it's helpful, sometimes not. But either way, it gives me a great place to start. |


When I'm almost finished with my peg, I label the bottom with the name of the saint and the feast day. I started using a vinyl sticker stencil because I think my handwriting is sloppy and inconsistent. Not saying that everyone should do that, but I think it looks wicked awesome.
Scrutinize and touch up


Seal the pegs


Pack up & party!
Someone hosts an event. Food and games are usually involved.
Set up the pegs like so, and have a blast!


So that's it. Not really as easy as it looks, but easier when you have a solid process that works for you. Coming soon, some posts about tools I use and mistakes I've made. Stay tuned for more tips and tricks!
No comments:
Post a Comment